what’s new
- Which is the left hand? Which is the right?
- Finger numbers in each hand
what’s important
- Distinguishing the left hand from the right hand
- Moving each finger (LH or RH) called for by the teacher
studio supplies
- Blank paper to trace hands
- Small stickers to place on various fingers for the traced hands
- A selection of rings to put on the correct hand and finger
let’s get started
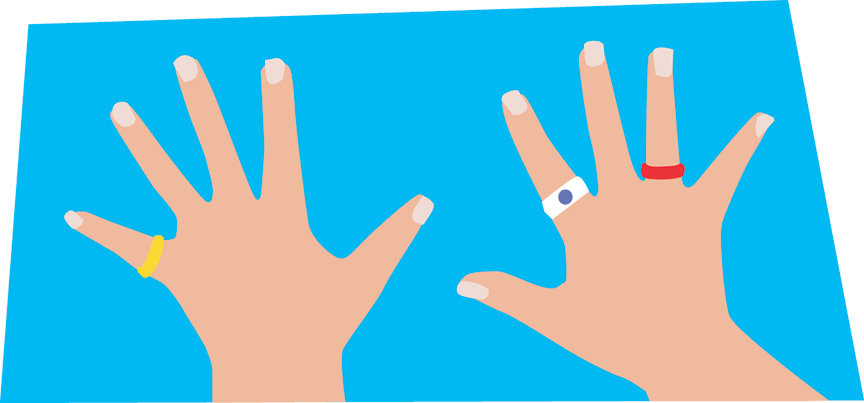
Let’s trace your hands. Which is your left hand? Write LH on that hand. Which is your right hand? Write RH on that hand.
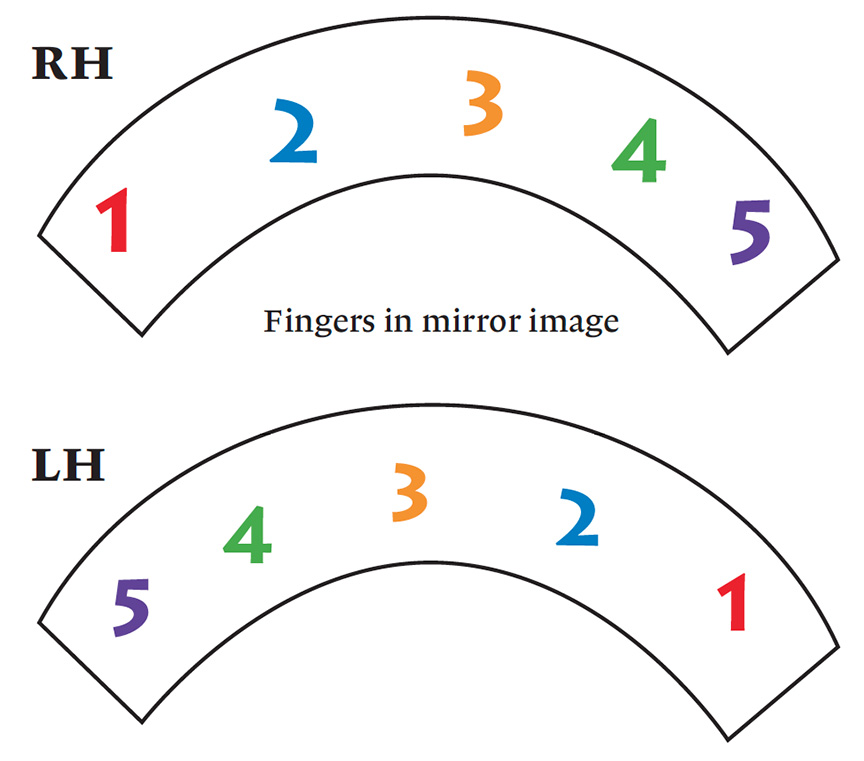
Let’s number the fingers for each hand. (Begin with the left hand.)
With hands placed against each other and with fingertips touching, tap the fingers that I call out. Ready? Finger 2s. Good! Finger 3s. (Continue)
explore & create
- Sticker Time
(Use the traced hands.) Put a sticker over the hand and finger that I ask for. Be sure to find the correct hand!
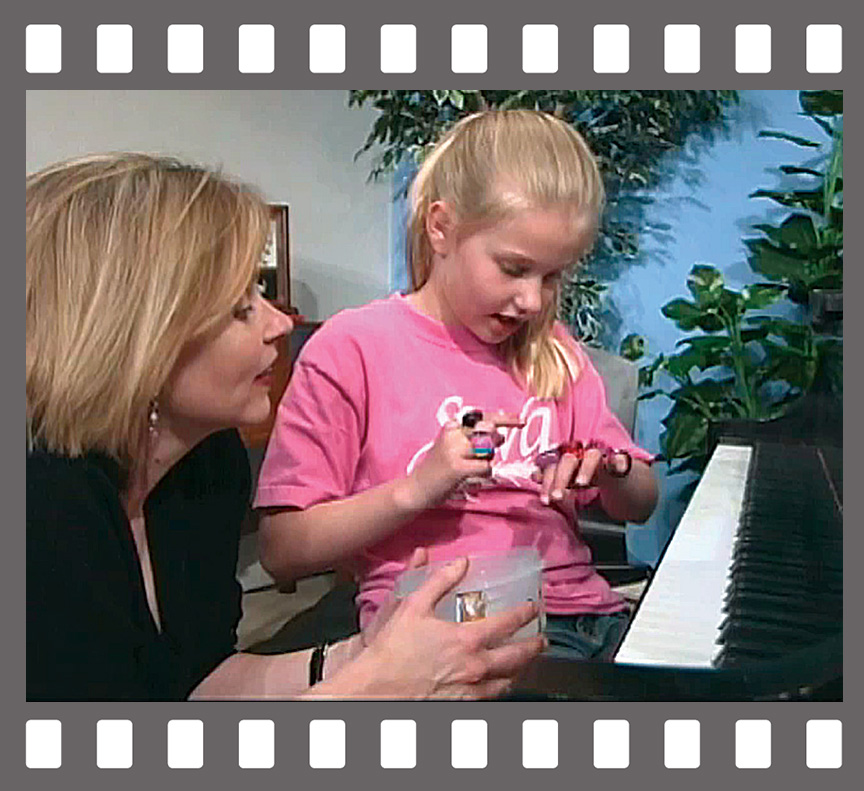
see video
- Putting Rings On!
(Have a selection of rings ready.) Put a ring on the hand and finger that I call out: “LH, finger 5!”
see video
- Taking Rings Off!
(Have rings on all the fingers.) Take the ring off each finger that I call out.
see video - Time to Tap
On the closed keyboard lid, let’s tap both finger 2s, both finger 4s, both finger 1s, etc. Don’t forget—tap on your fingertips.
pedagogy pointers
Which hand is which? Children forget!
Students love to have their hands traced. This is a good way to help them identify left from right. Since keyboard success involves playing with specific hands, as well as with both hands, distinguishing the left hand from the right must become second nature.
Finger numbers can also get easily mixed up, especially for the left hand where finger number one is the thumb.
An easy way to begin to identify and test finger numbers is to have the student tap the opposite matching pair. This isometric (“equal fingers”) activity is easy and natural.
When the hands are separated—acting individually—responding with the correct finger can be more challenging.


