what’s new
- Up the keyboard = right/high
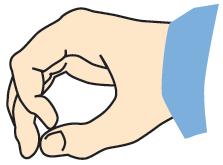
Down the keyboard = left/low - Bracing finger 3
what’s important
- Firm fingertip and rounded hand shape
- Playing down and up the entire keyboard
- “Pecking” with a sticky staccato and a flexible wrist
let’s get started
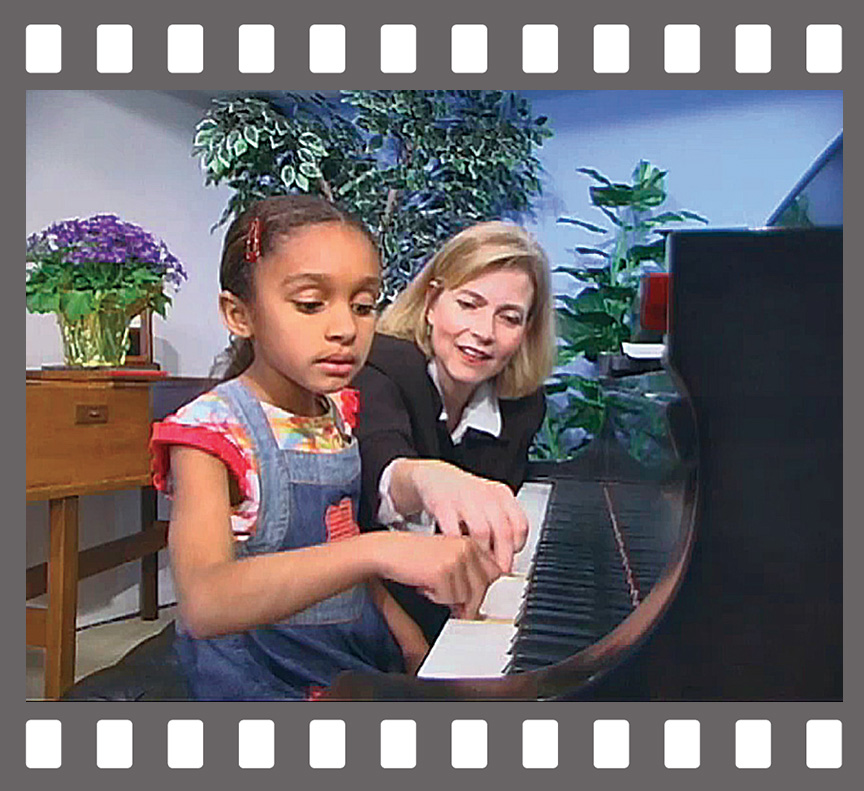
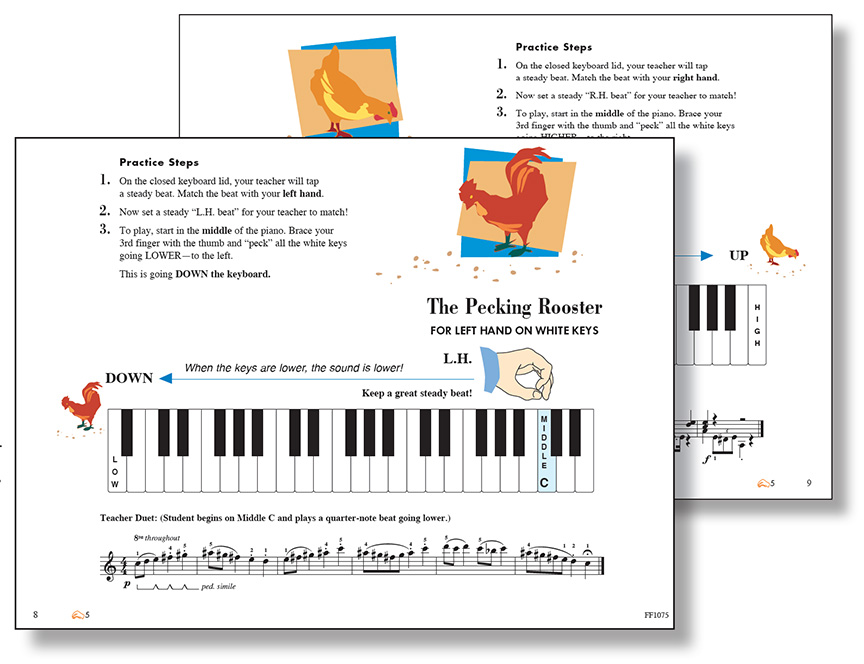
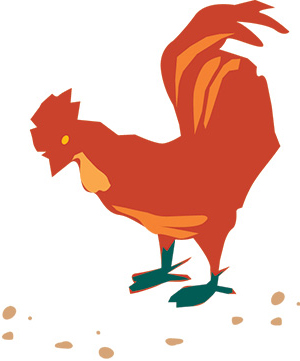
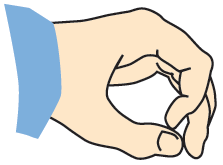 (Demonstrate a braced LH finger 3.) Let’s pretend a rooster is pecking for seeds going down the keyboard. I’m going low—to the left. The rooster pecks on the fingertip. (Play as you say) “Peck-peck-peck-peck.”
Now it’s your turn. When your rooster pecks down (lower), lean your body to the left.
Your rooster shouldn’t have a stiff neck. Keep your wrist loose!
 Your RH is a little hen! She pecks up the keyboard— higher to the right. Lean your body to the right as you play. Keep your wrist loose!
explore & create
 The Rooster’s Duet
The rooster strut is rather slow and proud around the barnyard. (Play the Teacher Duet at a slower tempo.)
see video The Hen’s Duet
The hen’s peck is quick and steady up the keys. (Play the Teacher Duet at a lively tempo.)
see video- Rooster and Hen Together
Use two hands. The rooster (LH) pecks in place on Middle C as the hen (RH) pecks up the white keys. The hands alternate as they play. Reverse.
see video - Technique Secrets Review
The Pecking Rooster/Hen uses Technique Secrets 1-3. Do a quick review. “I’ll do the Exercise for one of the Technique Secrets. See if you can name it. Then you do it for me.”
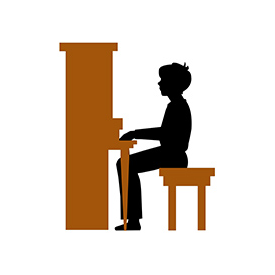
Secret 1: GOOD POSTURE
Do the Exercise Karate Pose
Student names and imitates.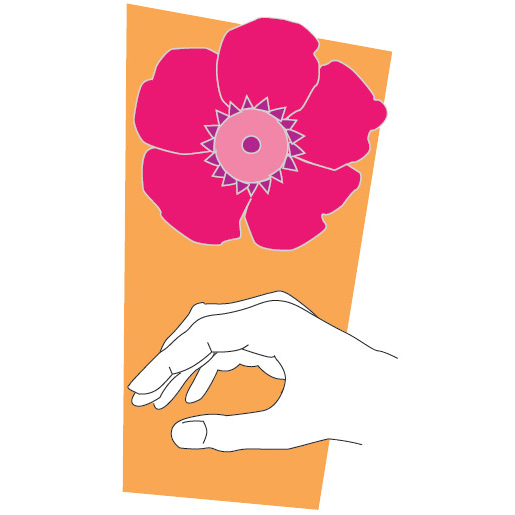
Secret 2: ROUNDED HAND SHAPE
Do the Exercise Blooming Flowers
Student names and imitates.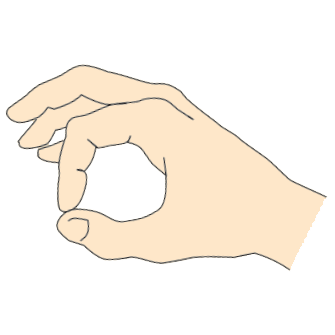
Secret 3: FIRM FINGERTIPS
Do the Exercise Making O’s
Student names and imitates.
pedagogy pointers
Establishing a curved, flexible hand shape is the basis of keyboard technique. Playing with a braced third finger is an effective approach. Both arch and fingertip are supported. Using a non-legato touch (like a sticky staccato) at the beginning helps direct the arm weight from the shoulder.
The LH is the first to try out the new “pecking” technique. It won’t take second place to the RH, which often gets the most attention. The student begins to associate “down” with going to the left and making low sounds. The RH will then go “up” to the right for high sounds.
As the student moves from key to key with a braced finger 3, guide the student to develop a flexible wrist. Your own example should be the ideal model. You may help some students with this technique by placing a finger under the wrist—so the hand falls gently from the wrist. Or suggest that the finger bounces or springs off the key like a trampoline.